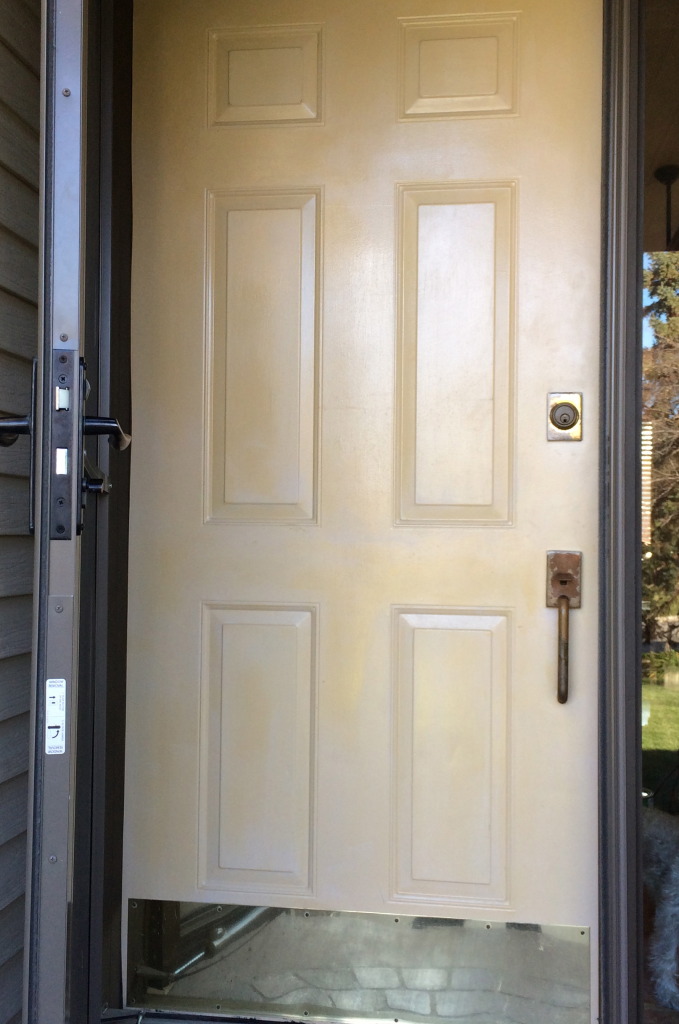
When we first moved into our home almost 14 years ago, Our front door was a deep forest green. This was way before I starting blogging so I do not have a picture of it. One day my husband was in the painting mood and decided to paint the front door with some left over cream colored paint. I liked the fresh new look and was very appreciative of his effort in his attempts to spruce things up. The original color was a very deep forest green. Against the tan house, it didn’t look bad but I felt it was just time for it to go. Maybe too 90ish? I don’t know. It was just time for a change.
Soon after, we had a storm door added to the outside with a full length glass /screen insert. With the cream colored door, it surely brightened up the entrance area. But following some of the harsh Wisconsin weather, the cream colored door started yellowing in splotchy patterns.

It probably was happening over time unnoticed because the door is not a daily used door. What was happening? I guess it was the polyurethane yellowing. So after seeing that over and over again when I would answer my front door, I decided to tackle it. It shouldn’t take to too long, right? Knock it out in an afternoon? Absolutely!!
On one of the last beautiful warm Sunday afternoons, I decided to take it on. Being the thrifty person I am, I consulted my stash of paint I have stored. This could be paint left over from a past project of mine , a donation from a friend or family member or I could have purchased it . Whenever I am at Home Depot or Lowes, I check the “oops shelf” for mark down paint. Have you discovered this shelf at your local home improvement store? It’s worth the time.
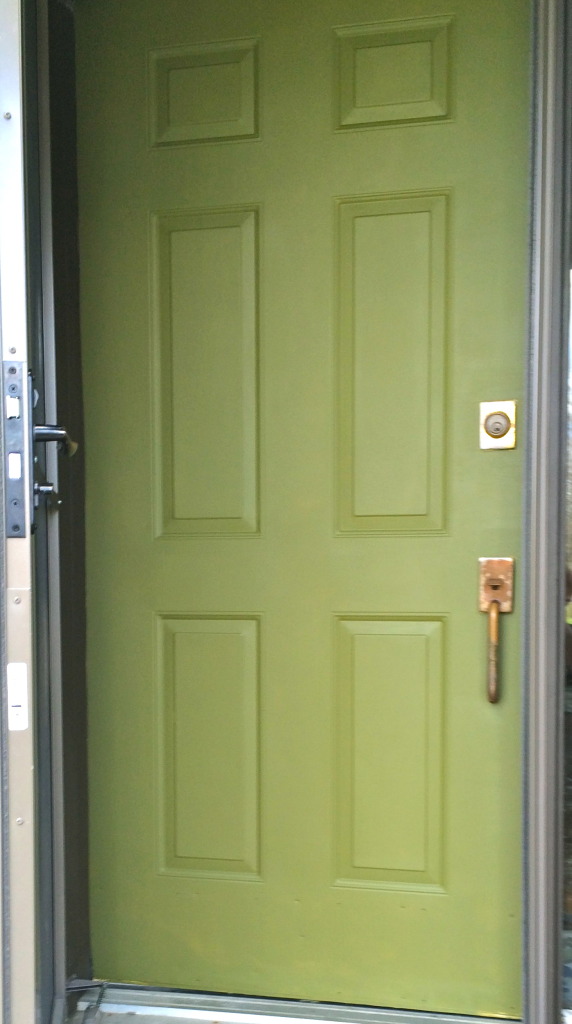
After looking over my “choices”, I chose an unopened full can of …… (believe it or not) GREEN paint. This was an off brand but must have been an extremely good deal for me to purchase it. I was pumped to get started. Bye bye yellowing splotchy paint.
To get started, collect all necessary supplies:
medium-fine grit sand paper, smooth-nap roller, paint pan, angle brush, tape
1. Remove desired hardware. I just removed the kick plate and then taped off the lock and handle.
2. Lightly sand the door to remove the dirt and to rough up the surface to assist the paint in sticking
3. Because this was previously painted, I chose to skip priming. I was covering a light color with a darker color.
4. Wipe down to remove sanding dust
5.Begin painting. I chose to roll the door and then fill in the uneven areas with a brush. I also used the brush to cut-in around the lock and handle
I was thinking this should take about two coats and then I would be finished. I applied the first coat and thought “hmm” this is not looking so right. I decided to walk away and come back to it it in a while. One hour later I returned to find that it dried very streaky and the coverage was poor. I took the brush and filled in around the molding and walked away again. Upon returning, it was very evident another coat was needed. I applied that with the roller, touched up with the brush and then let it dry for another hour. Came back and still YUCK!!!! By this time I was becoming very frustrated.
This was truly a new experience. What was different?? THE CHEAP PAINT!! I had to leave it. I was so frustrated. This project didn’t need to be this complicated.
Returning the next day, I was determine to win. I applied a few more touch up coats and YES it was finished. It took sooooo much longer than what I anticipated. Here is the finished piece. I still need to add the kick plate back on. I was not too concerned about coverage in this area

Listen up people!!! Not everything thrifty is nifty. If you have a paint brand you like and it works for you, stick with it. Pay the price or buy it on sale. Bargain hunting this time around did not work out. Lesson learned!
Do you have a painting experience you would not like to repeat but have learned from? Please share your wisdom.