I have been collecting picture frames for a while to create a gallery wall. I’m getting close to the amount I need. After accessing the pile, I came across one that just didn’t seem to work with the others. So what does one do with an odd ball picture frame? Make a pin board!

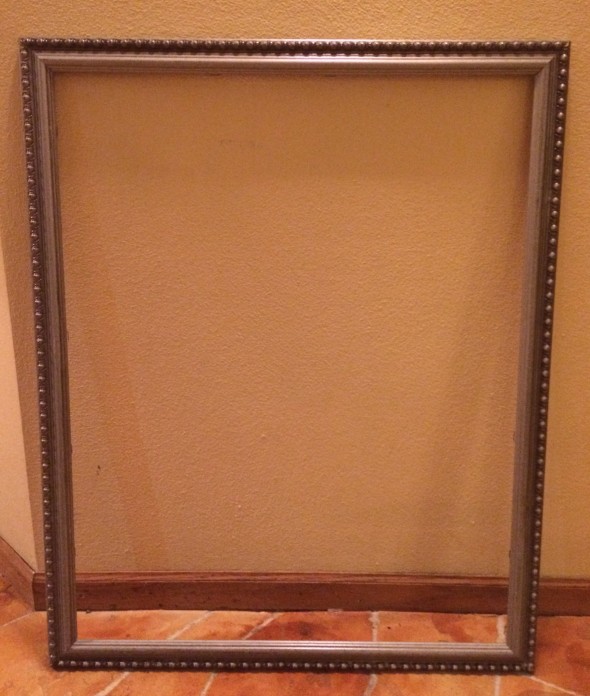
Empty picture frame
This is is what I had to start with. One empty picture frame.
How to Make a Pin Board- Shop my Stash
Step 1: Measure and cut a piece cardboard that will fit inside the frame. Attach foam batting to the cardboard using spray adhesive
Step 2: Measure and cut a piece of fabric approximately 1 inch larger than the cardboard

fabric glued to cardboard
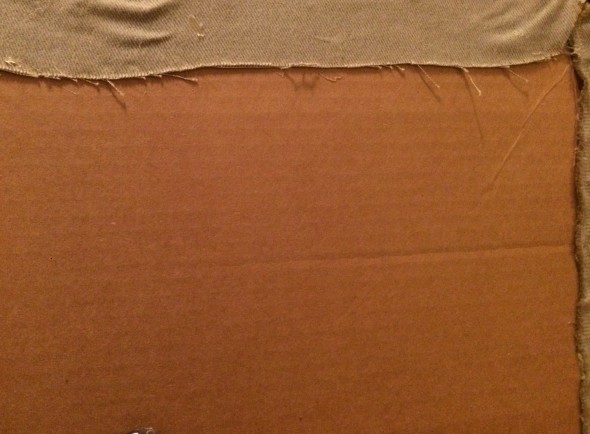
Step 3: Wrap and secure the fabric to the cardboard Normally I would use a staple gun but today I am out of staples. Plan B: hot glue gun! Then pull and pull as you glue along

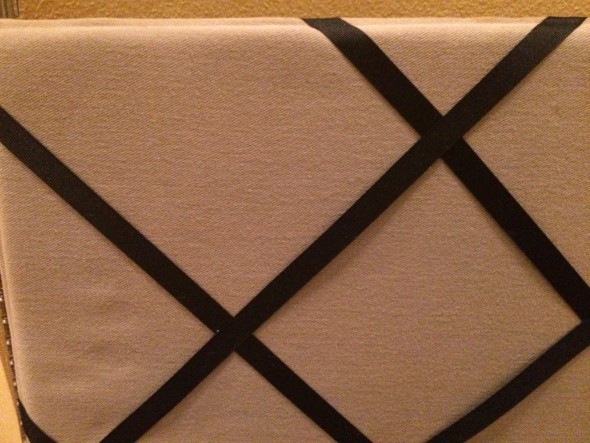
ribbon added to pin board
Step 4: Add ribbon in a criss-cross fashion. It was helpful to use stick pins to keep the ribbon in place until I was happy with the pattern. Again, I used the glue gun to secure the ribbon on the backside of the cardboard removing the pins as I went along.

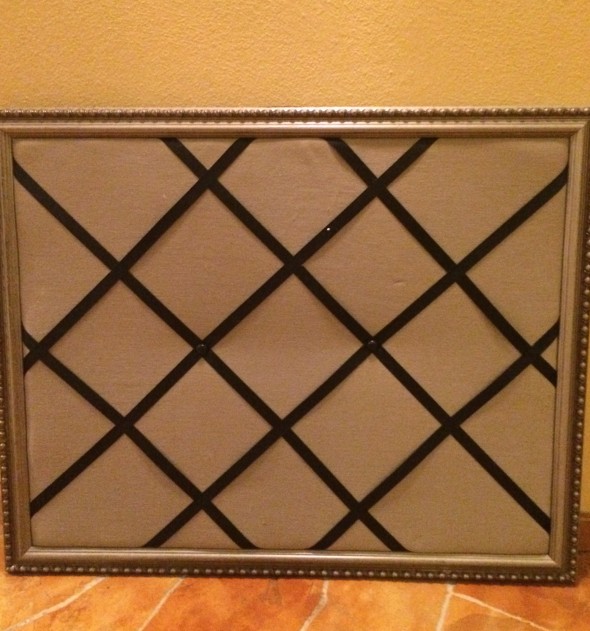
Pin Board
Step 5: Place the padded, fabric covered cardboard back into the frame. This frame still had its fasteners to hold the cardboard. Small finishing nails would have worked just as well, also. Turn it over and it’s complete !!
I was able to complete this pin board project all from shopping my stash. Take a quick peek at a few other projects completed from my stash here and here.
 Beverly says
April 24, 2015 at 6:54 pmWhat a great way to upcycle an old frame. Thanks for sharing on the Spring Craft Blog Hop.
 thriftytonifty says
April 24, 2015 at 7:46 pmThank you for taking a look
 Jennifer | The Deliberate Mom says
April 24, 2015 at 10:23 amI love the look of this bulletin board and it seems easy enough to do!
Thanks for sharing and linking up to the #SHINEbloghop.
Wishing you a lovely weekend.
xoxo
 thriftytonifty says
April 24, 2015 at 7:44 pmThanks for looking. Enjoy your weekend also
 Monica says
April 23, 2015 at 12:03 pmI never thought to use card board! Just yesterday, I was wondering how I could make my own bulletin board for blogging PR items without using corkboard! This is great and I have TONS of pretty fabric to choose from. I’m excited to make one!!
 thriftytonifty says
April 23, 2015 at 3:25 pmGreat! I’m glad it sparked an idea Good luck!
 Kelli {A Deeper Joy} says
April 23, 2015 at 8:52 amExcellent idea!!
 thriftytonifty says
April 23, 2015 at 8:56 amThanks Kelli. It was a fun project
 Kate says
April 22, 2015 at 6:03 pmThis is an awesome project! I might just have to tackle this one very soon!
Thanks for sharing on the Wake Up Wednesday link party!
Hope to see you next week at 8 pm!
Kate | TheOrganizedDream
 thriftytonifty says
April 22, 2015 at 9:00 pmThanks Kate for taking a look!
 Erlene says
April 22, 2015 at 4:10 pmThat looks wonderful. I love keeping old frames and making them into something new. You did a great job making it into a functional pin board.
 thriftytonifty says
April 22, 2015 at 8:58 pmThanks it was a doable project to make in a short period of time
 Shirley Wood says
April 22, 2015 at 3:30 pmYour pin board turned out great. It’s awesome that you had everything in your stash so 0 cost! Score!
 thriftytonifty says
April 22, 2015 at 8:57 pmYes I love the $0 cost!
 Kristen from The Road to Domestication says
April 22, 2015 at 1:37 pmThat is GORGEOUS! I was just looking at some pinboards in The Container Store over the weekend, but this one is MUCH nicer!
 thriftytonifty says
April 22, 2015 at 8:56 pmThanks. If you make one then it can be customized to exactly what you want
 Alli says
April 22, 2015 at 1:29 pmI’ve been wanting to make a huge pin board for a while. Those things are so expensive and yours is just as beautiful, if not more so. Great job!
 thriftytonifty says
April 22, 2015 at 8:55 pmThanks so much Alli Now to find a place for it. Lol
 Carol Anne Swett says
April 22, 2015 at 11:58 amI have been wanting a tute on how to do this! So glad I saw your post in the IBN share thread!
 thriftytonifty says
April 22, 2015 at 12:23 pmGlad you stop by. Give it a try!